Wednesday, November 1, 2023

The Action at St. Ulrich - AAR Part 1

Having rebased  three units of infantry and added a few figures, it is time for a game. The scenario is straight out of the Honours of War rulebook named „The Combat of St. Ulrich“ [click pictures to enlarge]:

At-Start Deployment

 St. Ulrich is to the right (east) of the river Blauwasser, the ruins of Muhlhausen to the left (west).

Table Size:  5' x 4'
Figures: 28mm
Rules: The War Game (2012) plus addenda from Refighting History books (Vol. 6 and Vol. 9), at 2/3 movement and ranges
Unit size: 24+5 for infantry, 6+1 for companies and squadrons. Regiment Sacher at 32+5.

Attacker: Duchy of Rodenburg (based on Prussia). CiC: Ferdinand von Sturmschuh
Defender: Reichsbund (based on Austria). CiC: Baron Goldegg

Attacker Mission:  Secure a crossing over the river Blauwasser
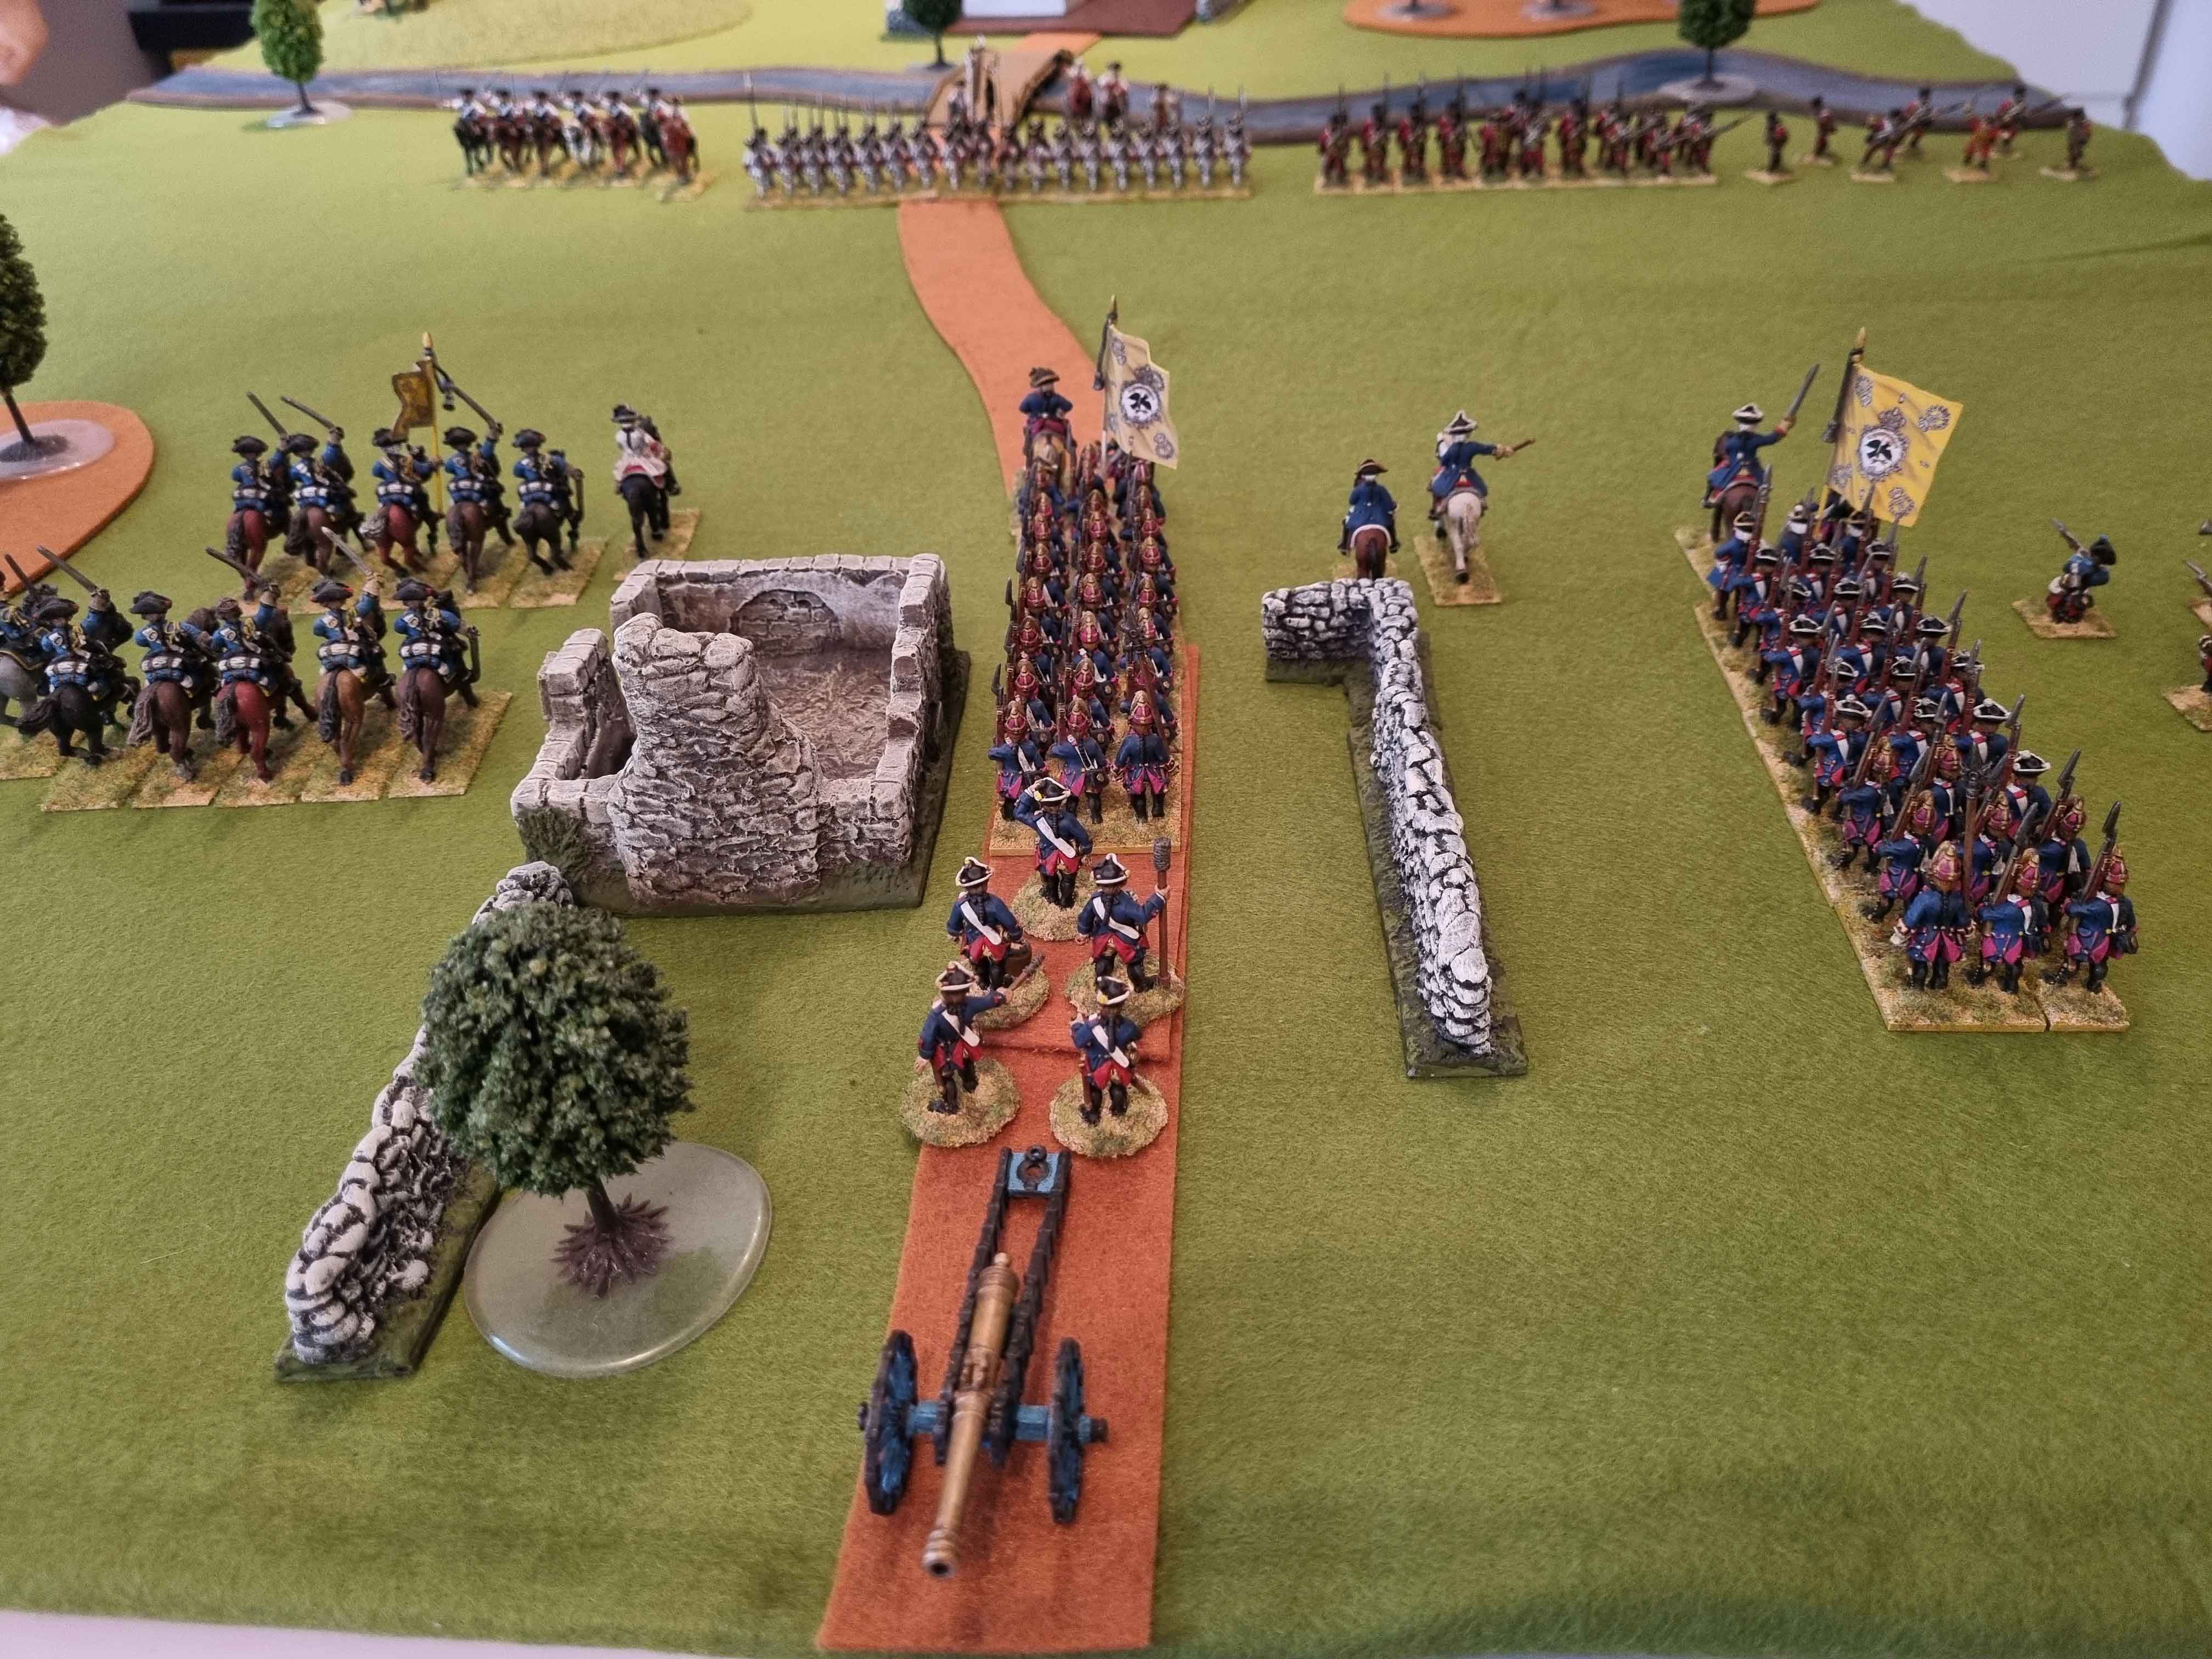
The Rodenburg force advances

Attacker's Plan: Infantry forms line to the right and advances. Artillery moves forward, unlimbers and opens fire. Cavalry kept back out of enemy artillery range.

Defender's Plan:  Baron von Goldegg has discussed his options with his staff (my daughter and son) what he should do if his confident „show of force“ with his back to the river should fail to deter an attacker.
His staff, after evaluating alternatives, unanimously advocated the following course of action:

(a)  Immediately withdraw behind the river. The unit next to the bridge (Regiment Sacher, 32+5) first. Cavalry last as it covers the retreat.
(b)  First regiment to cross takes up position south of the bridge (bottom of photo), the other (Plekdy-Gladz Infantry, 18+3, loose order) in front of the village.
(c) Gun section is to reposition IMMEDIATELY next to and to the north side of the bridge. (No one remembered who placed them that far from the action !)

[Game Mechanics:  The order for the infantry to withdraw is considered given at game start, i.e. Move 0. The gun section does require an order to be delivered by the ADC.]

The view from the Reichsbund gun section


Phase 1:  The attacker approach and the Light Infantry firefight
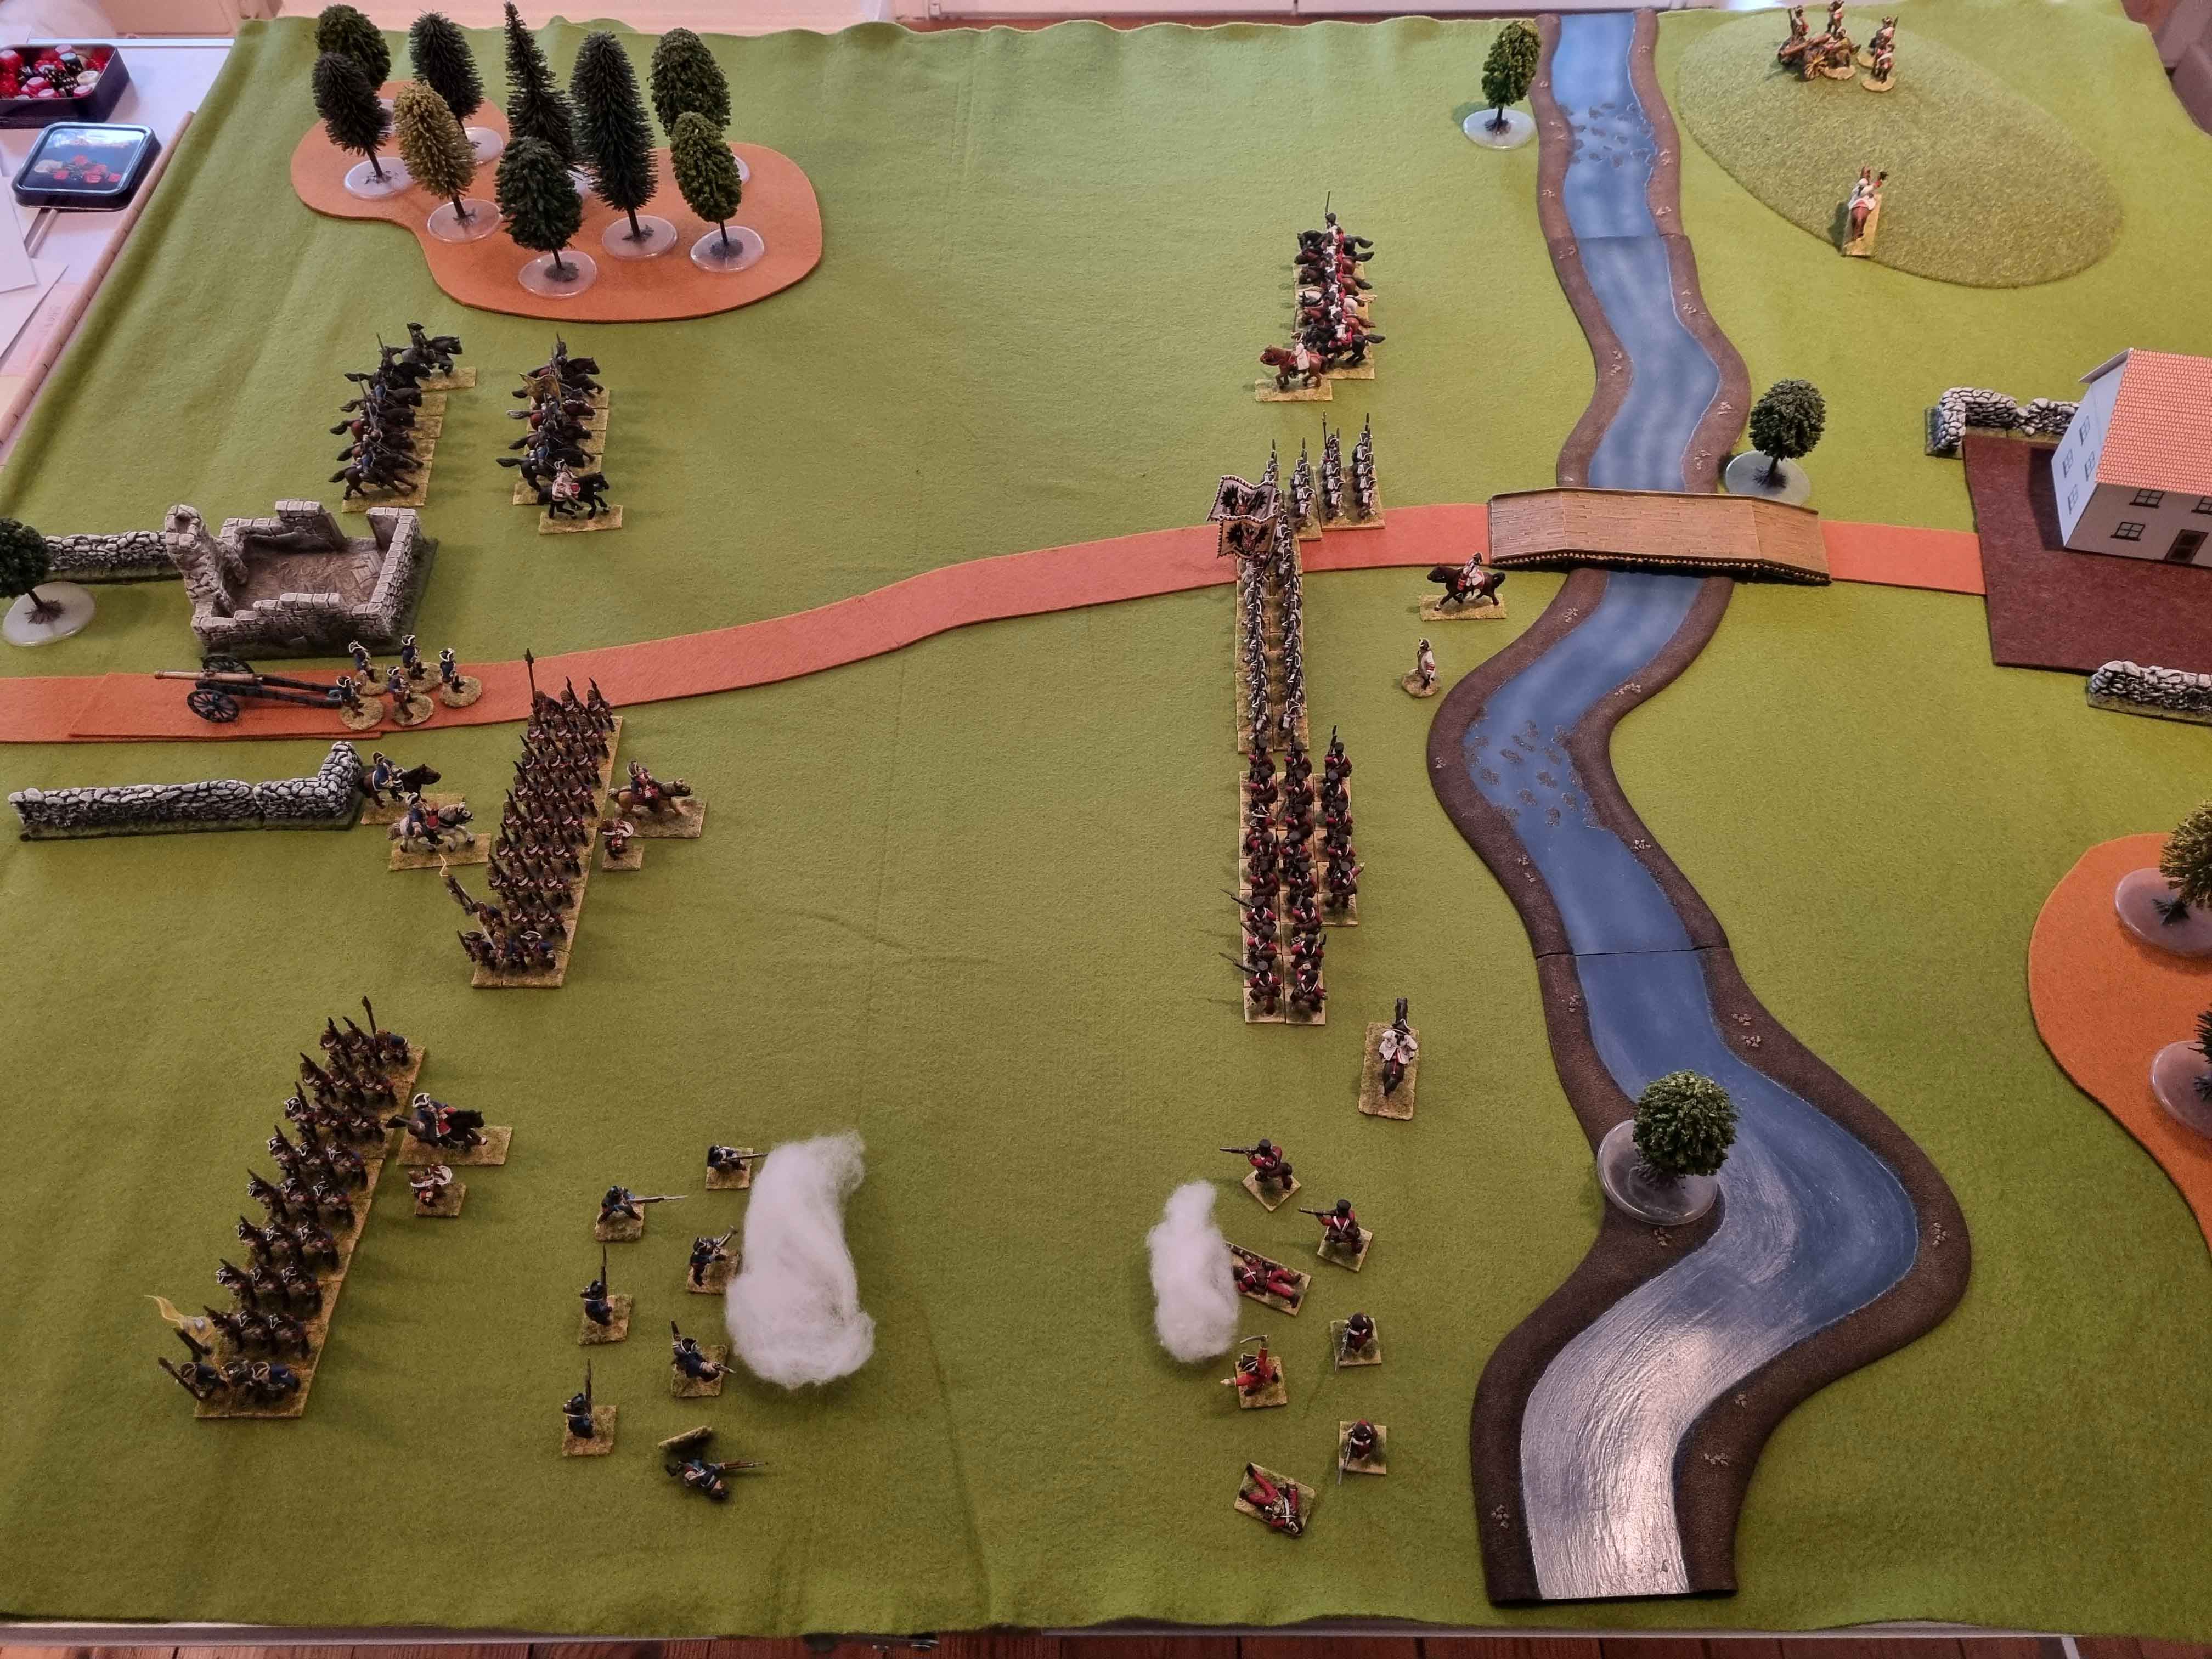
Approach and first blood

The attacker (Rodenberg) is in the process of forming line. The cacavalry is kept out of enemy artillery range. The light infantry (Freischar Dreyer) successfully engages the enemy croats (2 to1 casualties).
The defender is seen starting the withdrawl. The Reichsbund ADC, a certain Graf Kinsky, is seen on his way to the gun section to deliver the new orders to reposition.

Reichsbund Plekzy-Gladz lights („Croats“) retire !

Freischar Dreyer wins the firefight. the Croats retire. The Reichsbund gun section on the hill fired on the two enemy Dragoons squadrons with no effect. The ADC has just arrived there with new orders. The wirhdrawl makes good progress as the attacker gun section is still on the move.

The Rodenburg gun section finally unlimbers.
Freischar Dreyer now engages the withdrawing enemy.


This could hurt …


[Part 2 to follow]

Friday, October 27, 2023

Rebasing and a new unit - IR 3 Anhalt

 Here's the old look (right click on pictutre to enlarge):

Every figure on 20 x 20 mm metal bases, unit of 28 Figures

The new basing is tighter - 15mm x 20 mm and has a much more "shoulder to shoulder"-look. It uses multiple figures on most of the bases. The inspiration came from Charles S. Grant's "The War Game Rules" (2012), whose basing I copied.

I also added a new unit. Prussian IR 3 Anhalt. Currently 19 figures strong with 9 Fusiliers of IR 41 added to bring it to 28. Here they are, side by side with their respective Regimantal Commanders on horseback:

IR 41 on the left, IR 3 on the right, 28 figures each
 

Close-up photo of IR 3 with GMB flag

 Now on to rebasing the Austrians ...

Monday, April 10, 2023

Impressions Heeresgeschichtliches Museum Wien

Pictures from the 18th century department of the HGM Wien: 

Füsilier and Grenadier caps
 
Flags of IR 9 and IR 41 (note the fading silk)
  
Austrian cavalry flags

Austrian cavalry flags

Austrian Infantry equipment

Contemporary colour plates

Monday, November 21, 2022

An „Overfilled Mind“

I came across this excellent blog post (and comments section): “Too much stuff” that helped me understand why I might not have made any real progress regarding hobby projects and gaming lately. It dawned on me, that in order to move forward, I have to do some „mental downsizing“ and readjust my hobby philosophy.

Besides the SYW, there are, of course, other wargaming projects. But what has kept me continuing is exactly the reason so aptly described in this blog entry: It is an „overfilled mind“ caused by contemplating, knowing and moving between multiple rulesets and not the „overfilled shelves“ with projects and “stuff”.

I therefore decided on a more focussed approach. To get to more gaming, I will use and stick to:

    2 „Pocket Armies“ (6 x Infantry, 2 x cavalry, 1 x Artillery)
+  a table 4' x 3'
+  ONE ruleset (Valour & Fortitude by J. Johnson, A. & M. Perry)
+  „scenario inventiveness“

The first battle has already happened: The Action at Lockwitz. The Duke of Rodenburg has ordered his army to cross the border and take a nearby town to secure a bridgehead and continue the advance (click picture to enlarge) …

Hülsen's Brigade crosses the river, executing the planned concetric attack on the town, which is garded by the Croat Regiment Plekzy-Gladz. Enemy reinforcements appear in the distance ...

Sunday, April 24, 2022

Muster: Austrians for Field of Battle 3

 A small Austrian force (click picture to enlarge):


This small „army“ consists of

- 2 Infantry Brigades, one with with of 4 battalions and one with 3 battalions and an artillery battery (1 gun) attached; plus

 - 1 Cavalry Brigade (3 squadrons)

 The Armies in Action ...


Saturday, May 8, 2021

Muster: Prussians for Field of Battle 3

To play some games using Field of Battle 3 and doing it One-Hour-Wargames style, i.e. on a smaller table, I rearranged my Prussian unit organization (click picture to enlarge):


This small „army“ now consists of

- 2 Infantry Brigades, each of 3 battalions, one with an artillery battery (1 gun) attached and

- 1 Cavalry Brigade (2 squadrons)

The FoB 3 rules provide this force of nine units with around 9 Army Morale Points (AMP). Also, each Infantry and Cavalry unit has 4 Unit Integrity Points (UI) before it has to be removed (there is no individual figure removal). Each loss of one UI results in an equal loss of one AMP. And AMPs can not be regained.

Therefore, if the force loses 9 UI out of a total of 35 UI (Artillery units have 3 UI), equalling around 25%, it has to test for Army Morale if AMPs are down to zero and the Army Morale card comes up. Failure of this test means that your army retreats at once and you lose.

In my games, I increase the AMPs of both forces by around 33 to 50% to make them less brittle, so that these smaller games last a little longer.

Saturday, April 18, 2020

Piquet Field of Battle II Solo – The Combat of Thomasberg


An Infantry Brigade on a strategic hill, too far forward and without support [click pictures to enlarge]:


The enemy sizes the opportunity and advances with two brigades and cavalry:
 

This will be over in a minute. Or not?

The Field of Battle II rules are „tight“ when it comes to army morale. Blue, the attacker rolled poorly: only seven „Army Morale Points“. He looses one point (and never can get it back) each time one of his units looses one point of „Unit Integrity“ (UI). Infantry have 4 UI, cavalry 3 UI an artillery 2 UI.
Blue has a total of 6 infantry battalions, one cavalry unit and one artillery battery, therefore a total of 29 UI. If he looses theses seven Army Morale Points, i.e. short over 25% of his UI total, he has to start rolling an Army Morale Test each time he draws an Army Morale card. In his case, that means he has to win a roll-off of two d12 to pass.

White, the force on the hill, has eleven Army Morale Points available. The forces are equal, so this amounts to roughly 38% of possible damage/UI, which could be taken.

This is one of the aspects, why the Field of Battle II rules are so appealing to me. It is a card driven game with some die rolls required before the game to determine leadership quality, the composition of the two Sequence Decks and army morale.

Scenario
In addition to army morale, the scenario (#4 „Take the High Ground“ from Neil Thomas' One Hour Wargames; on a 4'x3' table) also became even more interesting as both army commanders were not „up to their game“.
General von Plankenheim (Blue, „Prussian“) is rated as „exceptional“ but his sequence deck became „Average“. His counterpart, Grimmberg (White, „Austria“) is rated as „Average“, but he has to use a „Poor“ deck.

Narrative Aspect
Immediately, a narrative is created. If army command is not at its best, blunders occur and an infantry brigade is pushed too far forward. The opponent wants to size the opportunity, but his Army Morale is brittle and at the command level, some „friction“ seems to exist.
A decisive and energetic attack is called for; a prolonged battle must be avoided! But can this be executed? Let's see …

The Blue Force has advanced its right wing brigade to outflank the hill and to cut off enemy reinforcements. The left wing brigade has brought its 12-pdr into position and routs one of the two battalions on the hill. Cavalry outflanks the hill on the left:

First fire exchange and Blue outflanks the defenders
White retaliates with cannister fire from its 8-pdr battery and an infantry volley.

Hard hit Blues left brigade is stopped in its tracks. The loss in Army Morale is severe. Caution begins to prevail. The brigade commander hesitates to send in his third battalion. Why not leave this to the cavalry?

And indeed, the Dragoons attack the hill from behind, routing the last battalion. But watch out! Enemy Cuirassiers enter the fray, albeit in march column. They first have to regroup to be able to attack:


The Blue cavalry commander is unable to bring his Dragoons under control again while the enemy 8-pdr battery, lead by its brigade commander, still pours cannister fire into their infantry brethren. Something must be done!

Command Confusion and Flank Attack

The fellow commander of the Blue right wing brigade, on his own initiative, dispatches one of his battalions to attack the flank and destroys the 8-pdrs.

Meanwhile, the White Cuirassiers get shelled by the 12-pdrs and quit the field:

Cuirassiers quit the field
Reinforcements arrive

The White reinforcements arrive, a full Four-batallion brigade. They march bravely forward, its leading veteran battalion exchanging volleys with the enemy and then overrunning and destroying the 12pdr battery. Afterwards the brigade retired from the field in good order.

[Sadly, the photos of this valiant action were inadvertently deleted].

Conclusion
The battle is over. Nobody won. A draw. The Blue CiC had to take three, yes three, Army Morale Tests and passed all of them. Each of them a d12 roll-off. Call him lucky!

The game was highly entertaining and engaging, its narrative compelling and it provided lots of character to the armies and personalities. The Field of Battle II rules are a keeper.